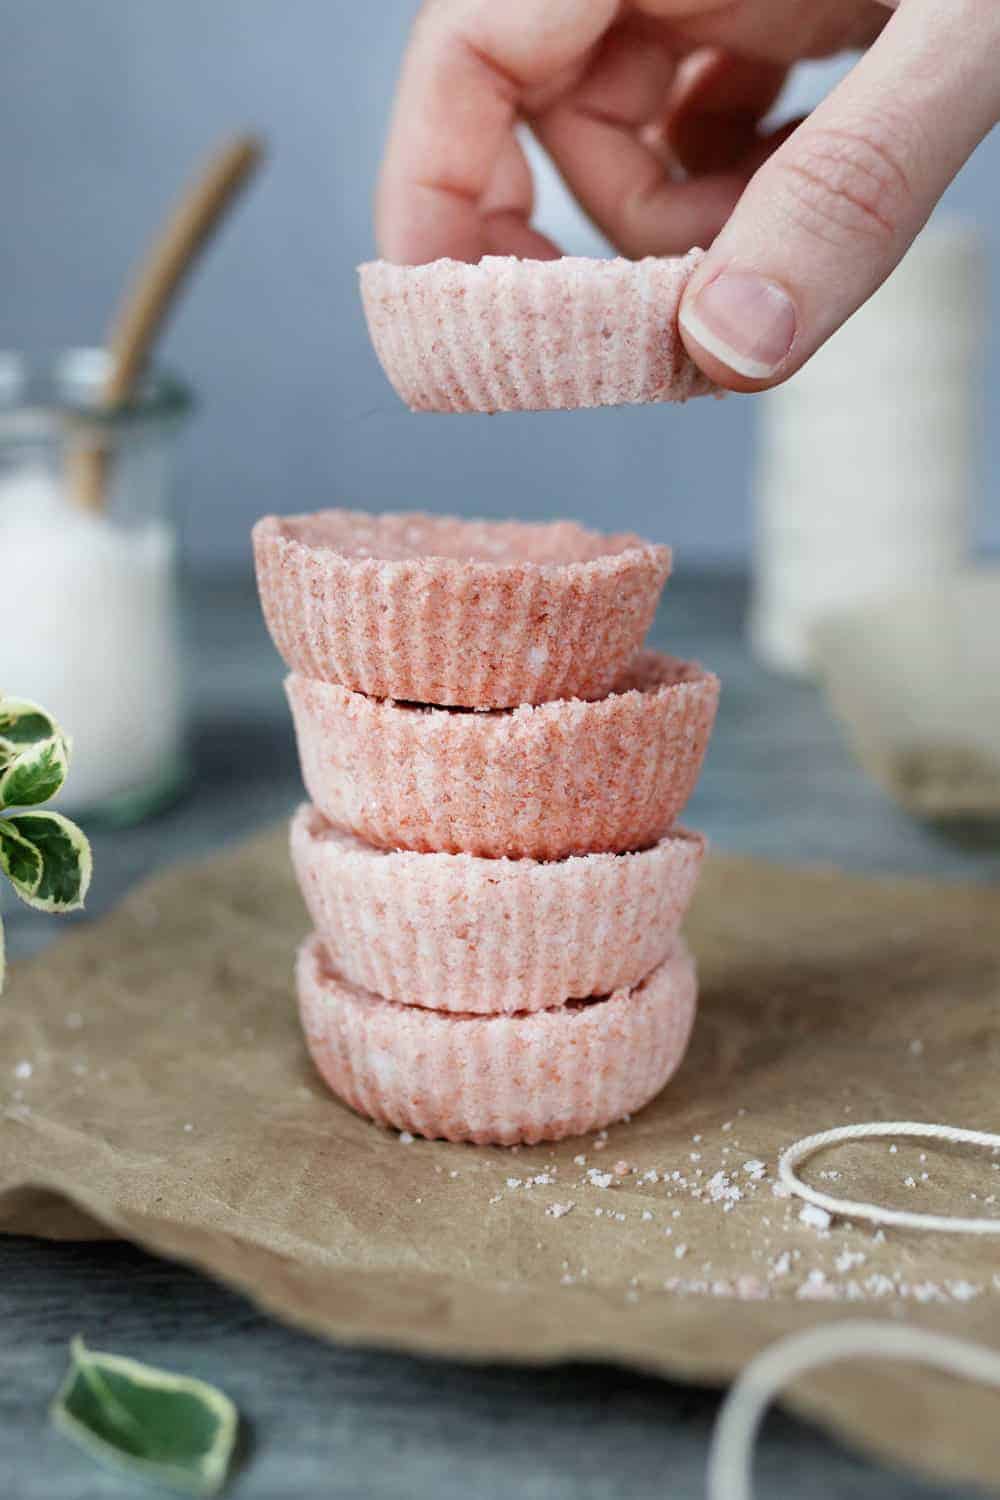
It’s true that bubble bath is one of life’s little luxuries. But have you ever tried bubble bars? Oh, boy.
These pretties aren’t nearly as complicated as you might think. Just combine all the ingredients and set them aside to dry. When it’s time to use ‘em, simply crumble a couple under running water while the bubbles fill the tub and the sea salts dissolve. That’s it!
You’re left with frothy bubble bath, soothing sea salt and relaxing baking soda — and none of the mess.
Jump to:
Unlike most homemade bubble bars, these guys don’t contain Sodium Lauryl Sulfoacetate (or SLSA for short).
SLSA, a non-toxic foaming agent, comes from coconut and palm oils and is a safe, skin-friendly ingredient used in foaming soaps and washes. It has the unique ability to remove surface oil and debris from the skin while preserving our protective skin barrier.
But because it’s a super fine powder, it can easily irritate eyes and lungs if you don’t wear proper gear (like goggles and a face mask) while making your bars.
That’s not really my idea of a good time.
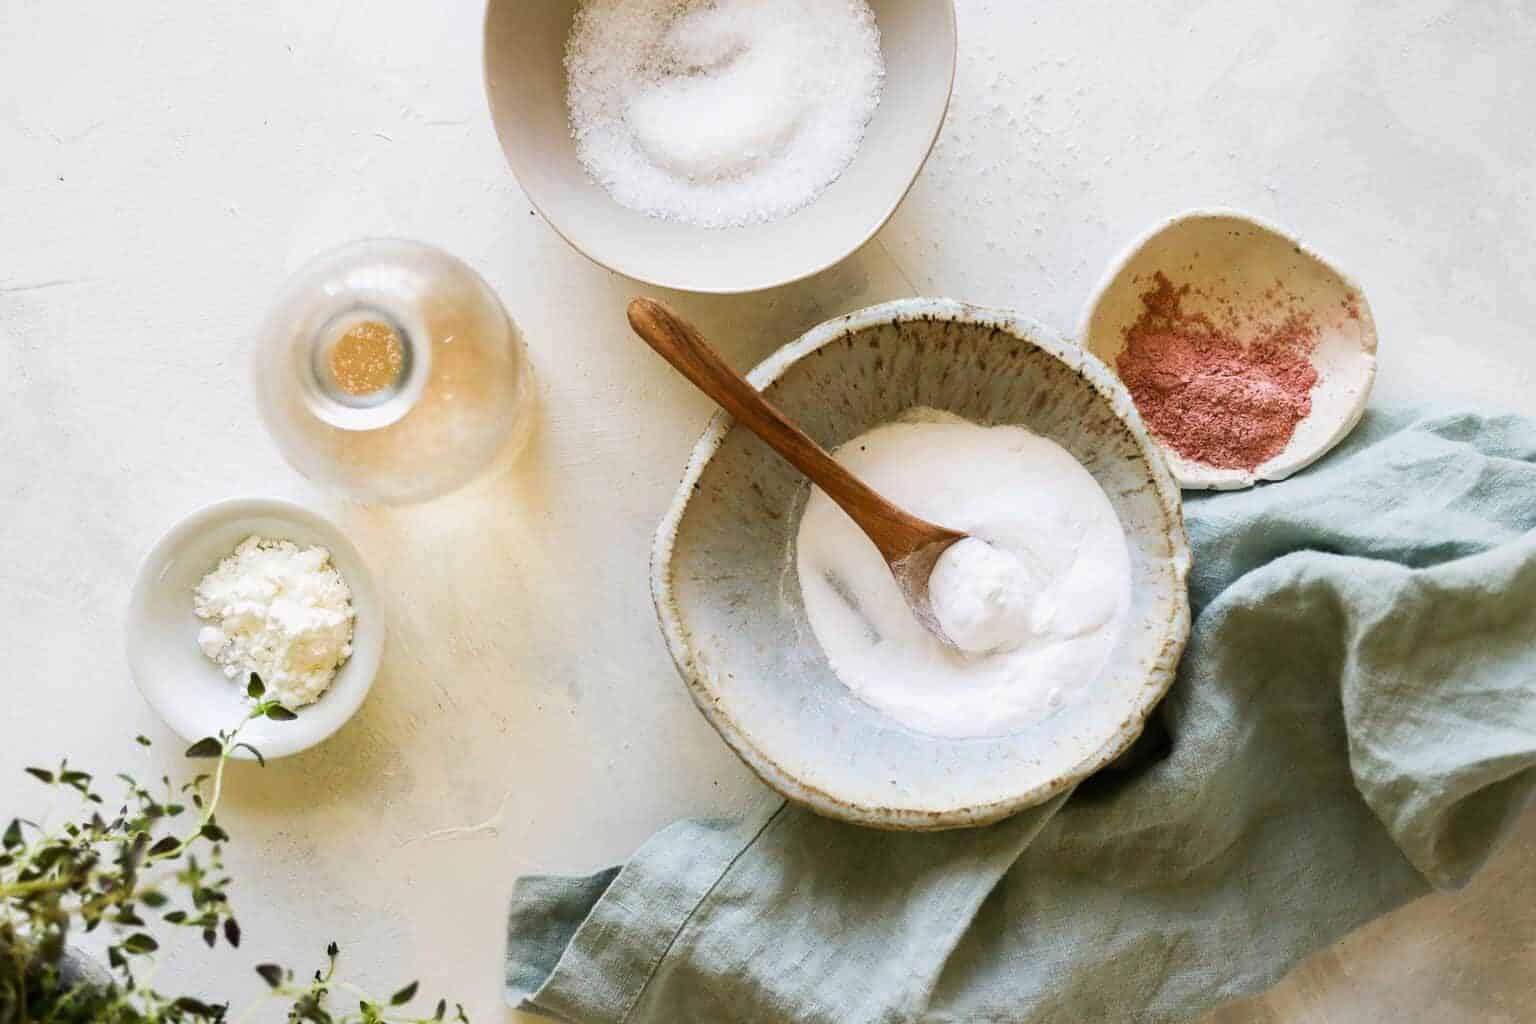

Bubble Bars Ingredients
Instead of SLSA, I use bubble bath to make my bars nice and foamy. It contains a surfactant, but it doesn’t require you to carefully measure out dry ingredients while protecting your eyes and lungs. While you can use any bubble bath you’d like, I usually stick to Honest Company brand since it makes your bath extra sudsy while still being safe for sensitive skin.
Sadly, castile soap doesn’t lather like normal bubble bath, and while you can use it in these, you won’t get the amount of bubbles you’d expect in a bubble bar.
For the dry ingredients, you’ll need Epsom salt, baking soda and corn starch to soothe and nourish skin. And essential oils like lavender, peppermint, or sweet orange for a fun, festive scent.
For color, I added a sprinkle of pink clay to give them a nice rosy glow. If you want to play around with colors, I recommend sticking with dry herbs and spices, like spirulina powder, turmeric or cinnamon, instead of liquid colorants.
I originally made mine with liquid food coloring but they mysteriously foamed up and turned into a hot mess that never really dried out. I didn’t have the same problem with the clay powder, so I assume it was just a weird chemical reaction to something in the food coloring.
How to Make Bubble Bars
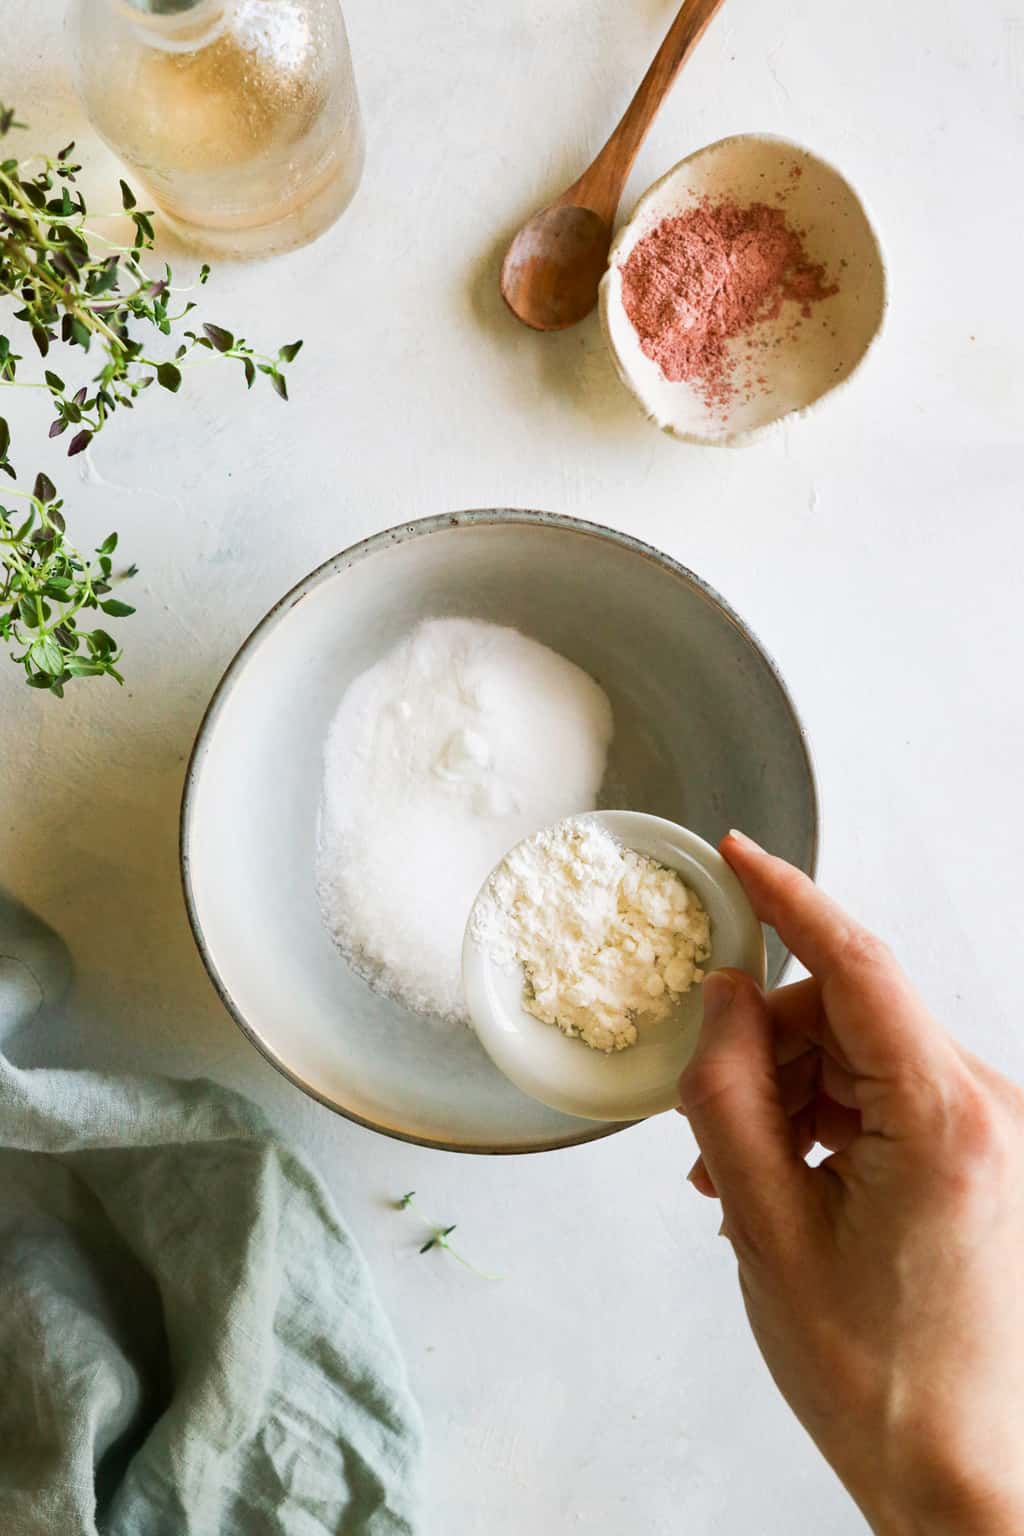

Combine your baking soda, corn starch, Epsom salt and dry colorant in a bowl.
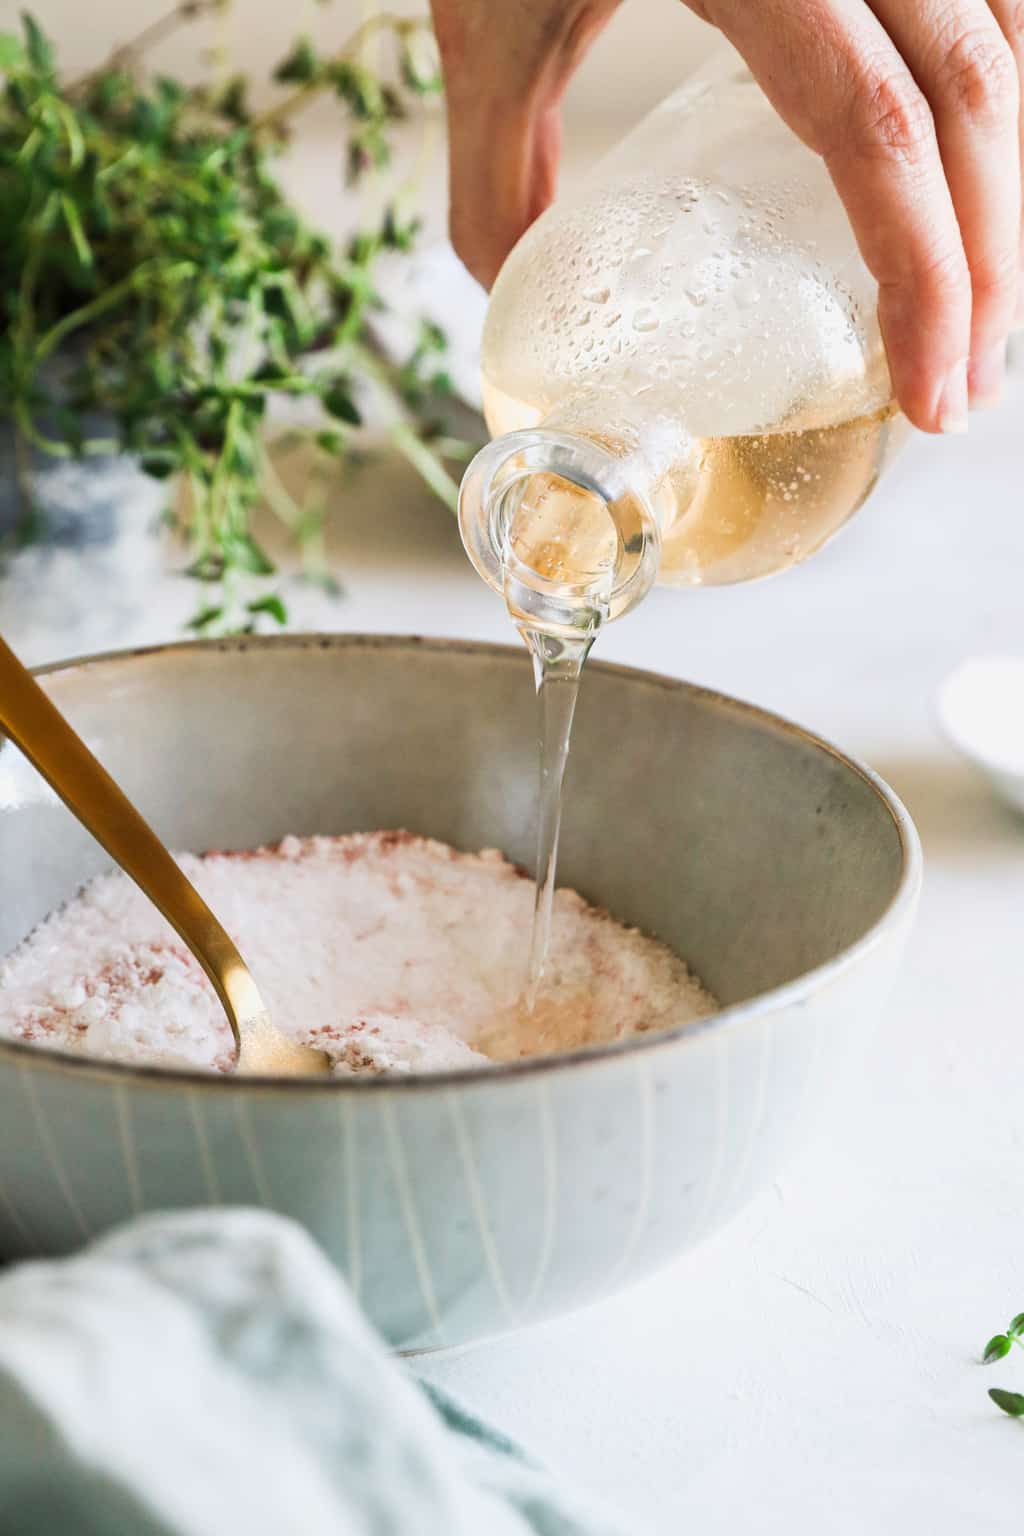

Pour coconut oil, bubble bath and essential oils into dry ingredients. Mix with a whisk (or your hands) until a dough starts to form.


Press small spoonfuls of the dough into your muffin tin liners. I filled mine about ⅔ full.
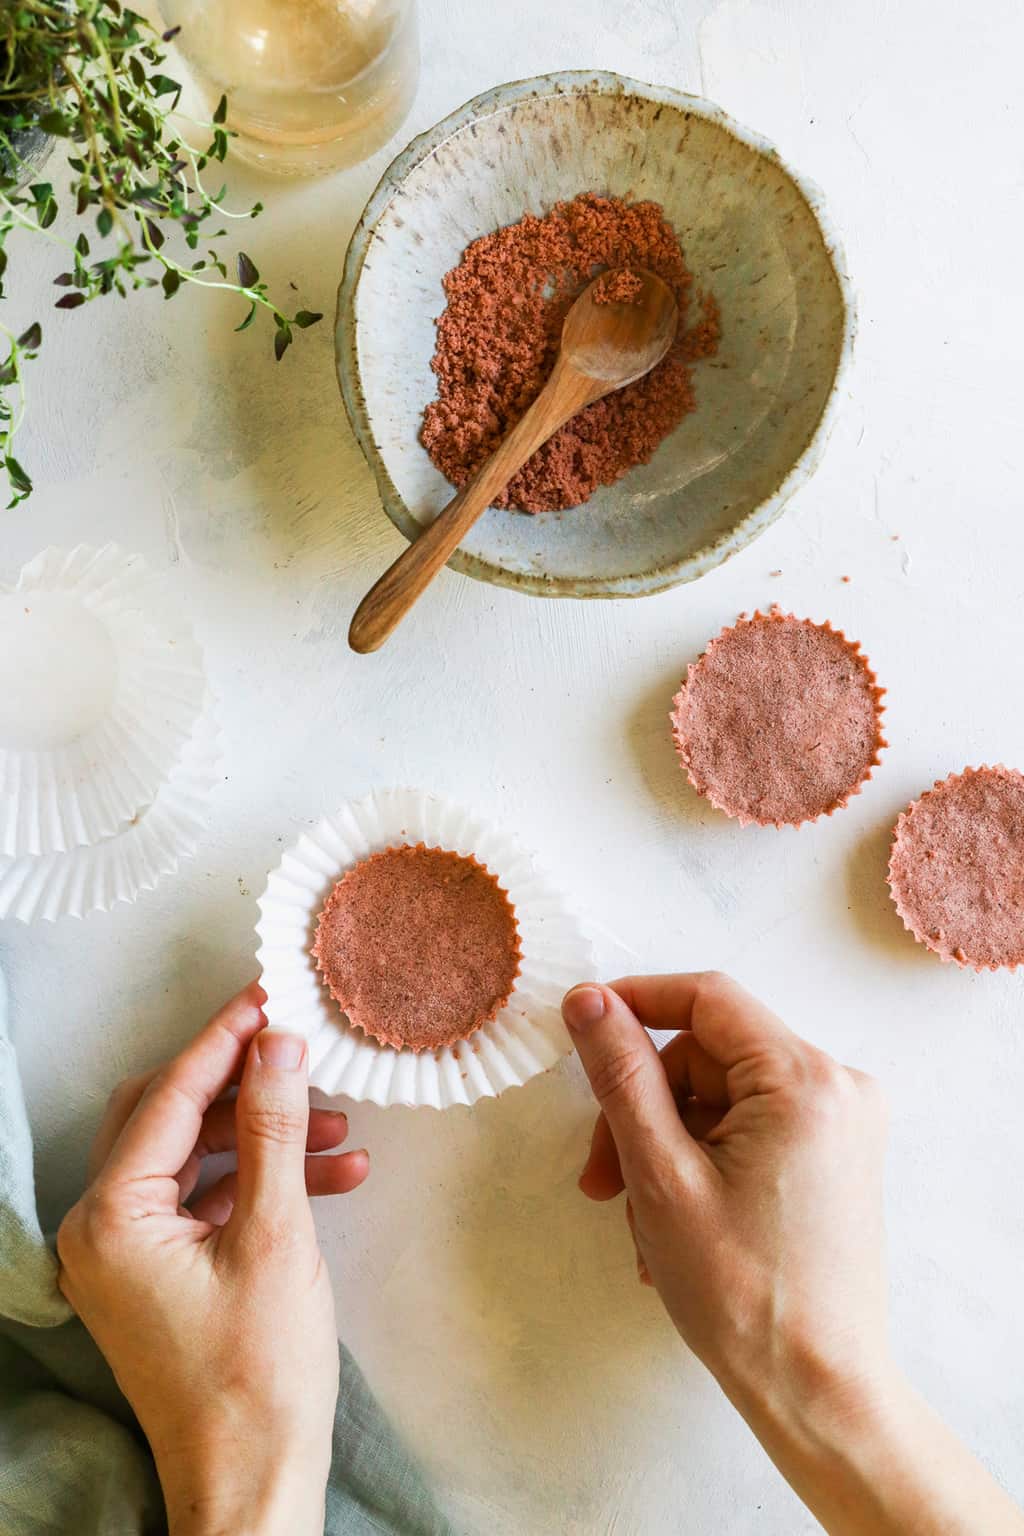

Let dry overnight or until they’re solid and can be removed from the liners without crumbling.
DIY Bubble Bar FAQ
Can I use a scented bubble bath for these?
Yes! Use whichever bubble bath brands and scents you like.
Can I add powdered goat milk?
I haven’t tried it myself, but I don’t see why it would hurt. Simply replace ⅓ cup baking soda with dry goat milk, and you should be fine.
Do homemade bubble bars still contain surfactants?
Yes, that’s the only way you’re able to get the bubbles. The difference between these bubble bars and the store-bought kind is we’re not using dry SLSA. Instead, we’re using bubble bath, which doesn’t require goggles and an N-95 mask to protect us from the powdered surfactants.
Can you use bubble bars in the shower?
If you like, you can use bubble bars in the shower the same way you use body wash. Simply dissolve some in a pouf and apply like you would soap.
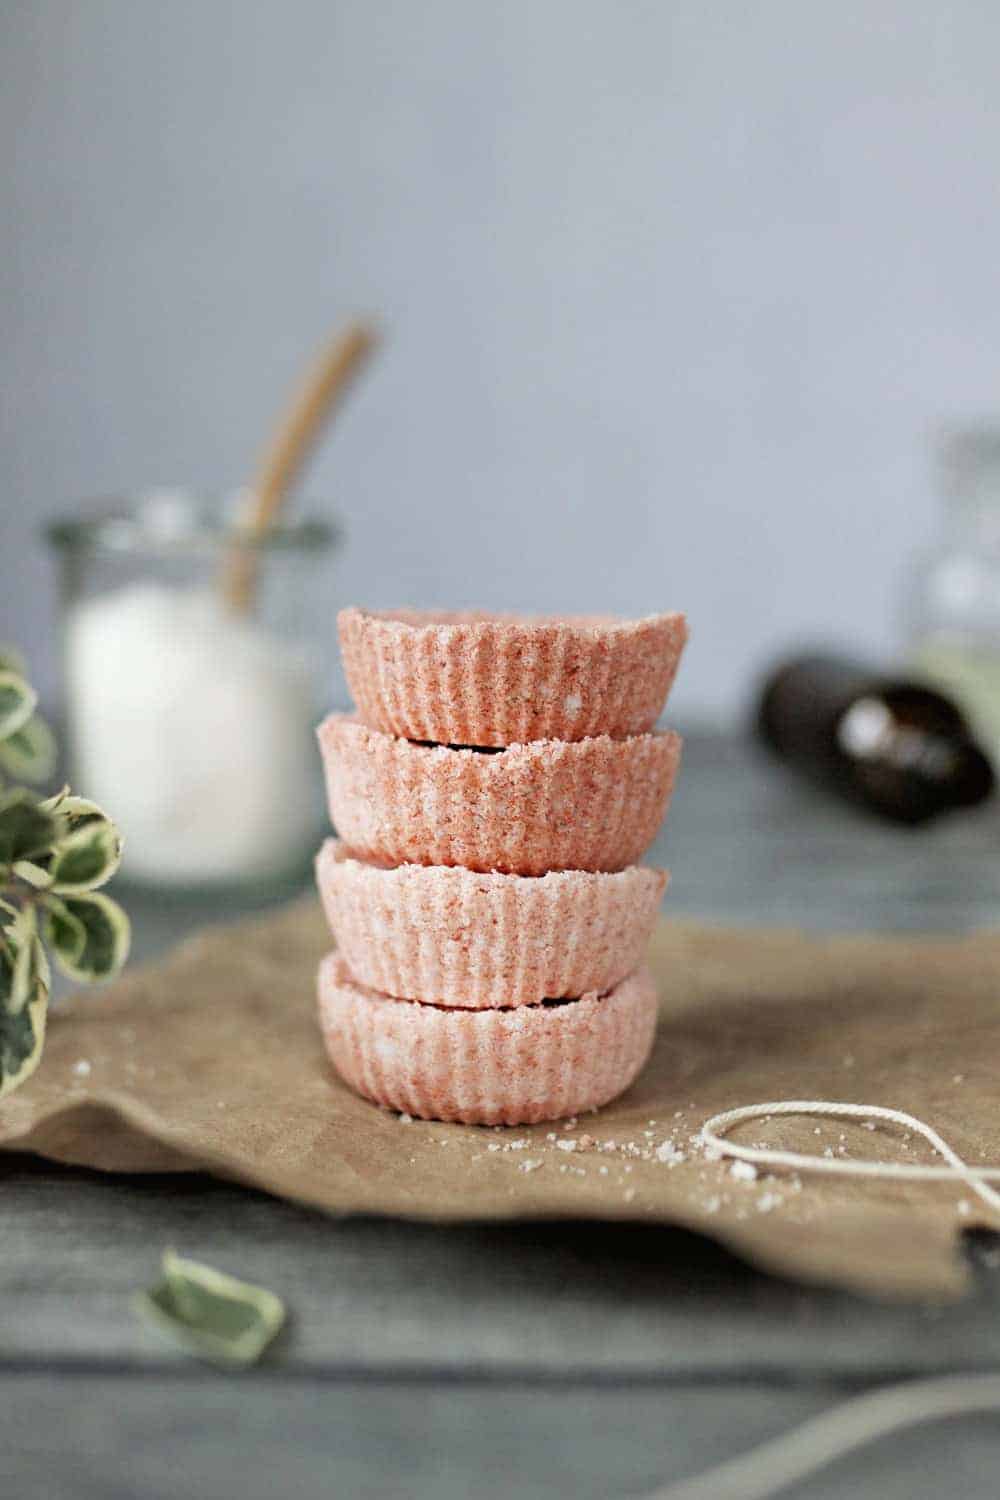

Bubble Bars
If you like Lush bubble bars, you’ll love this handmade version you can make at home. Whip up some for yourself and some for holiday gift giving.
Yield: 8 2-ounce bars
Cost: $20
Equipment
-
Muffin tin
-
Muffin tin liners
-
Large mixing bowl
Instructions
-
In a large mixing bowl, combine your baking soda, corn starch, Epsom salt and dry colorant. Whisk to combine.
-
Pour coconut oil, bubble bath and essential oils into dry ingredients. Mix with a whisk (or your hands) until a dough starts to form. If it’s still too wet, add baking soda ¼ cup at a time until it starts to come together.
-
Once you have a good dough (it should feel like wet sand), press small spoonfuls into your muffin tin liners. I filled mine about ⅔ full.
-
Let dry overnight or until they’re solid and can be removed from the liners without crumbling.
Notes
I love to package several together with a bit of twine and give as gifts. Use within 2-3 months.
To use, simply crumble one or two bars under running water.
More Relaxing Bath Recipes
This post was medically reviewed by Dr. Rina Mary Allawh, M.D., a dermatologist who performs adult and pediatric medical dermatology, skin cancer treatment and cosmetic dermatology. Learn more about Hello Glow’s medical reviewers here. As always, this is not personal medical advice and we recommend that you talk with your doctor.


.jpg?w=1300&resize=1300,800&ssl=1)


:max_bytes(150000):strip_icc()/tal-gifts-under-10-tout-morgan-ashley-parker-02-1-7deae620c7f64ed3883f75edf1c5930e.jpeg?w=1300&resize=1300,800&ssl=1)

